Why do I need to do this?
From August 2021, GitHub announced they would not be allowing password authentication when using the command line 1. This means that in order to interact with GitHub from the command line you have to use another authentication method.
This blog post enumerates the process of
configuring git and GitHub to use SSH keys, and some tips to streamline their
day-to-day usage.
Using SSH keys
SSH keys are one of the authentication methods that can be used instead of passwords. Atlassian defines them as follows:
SSH keys are generated through a public key cryptographic algorithm, the most common being RSA or DSA. At a very high level SSH keys are generated through a mathematical formula that takes 2 prime numbers and a random seed variable to output the public and private key. This is a one-way formula that ensures the public key can be derived from the private key but the private key cannot be derived from the public key.
– Atlassian 2
Why should I use SSH keys?
SSH keys provide a number of benefits over traditional password authentication, which motivated its disablement for the command line. These include being unique, revocable, limited, and random 3.
Another alternative to authenticate to GitHub is token authentication. However, this approach comes with a number of drawbacks including only providing access to the repositories rather than account settings and having the option of password protection, making them much more secure even if leaked 4.
How do I use SSH keys?
The process for creating and using SSH keys is described in the GitHub documentation, and enumerated below:
Check if any SSH keys already exist with
ls -al ~/.sshIf the directory exists and contains a pair of public and private key files (look for files called
id_rsa.pub,id_ecdsa.pub,id_ed25519.pubor similar), you may choose to re-use these in step 3.If not, generate a new key with
ssh-keygen -t ed25519 -C "your_email@example.com"This will then prompt you to pick an algorithm (the default is probably sensible), and a passphrase (pick a long and secure one, as on MacOS this can be stored in the keychain and filled automatically, as discussed in a later section).
Add the key to
ssh-agenteval "$(ssh-agent -s)"Which should output something similar to “
> Agent pid 59566”.Update your
~/.ssh/configfile withvi5vi ~/.ssh/configto contain the following entry
This can be modified to auto-fill on MacOS using the keychain, as discussed in a later section).
Add the key as an authentication method to GitHub, by copying the public key file
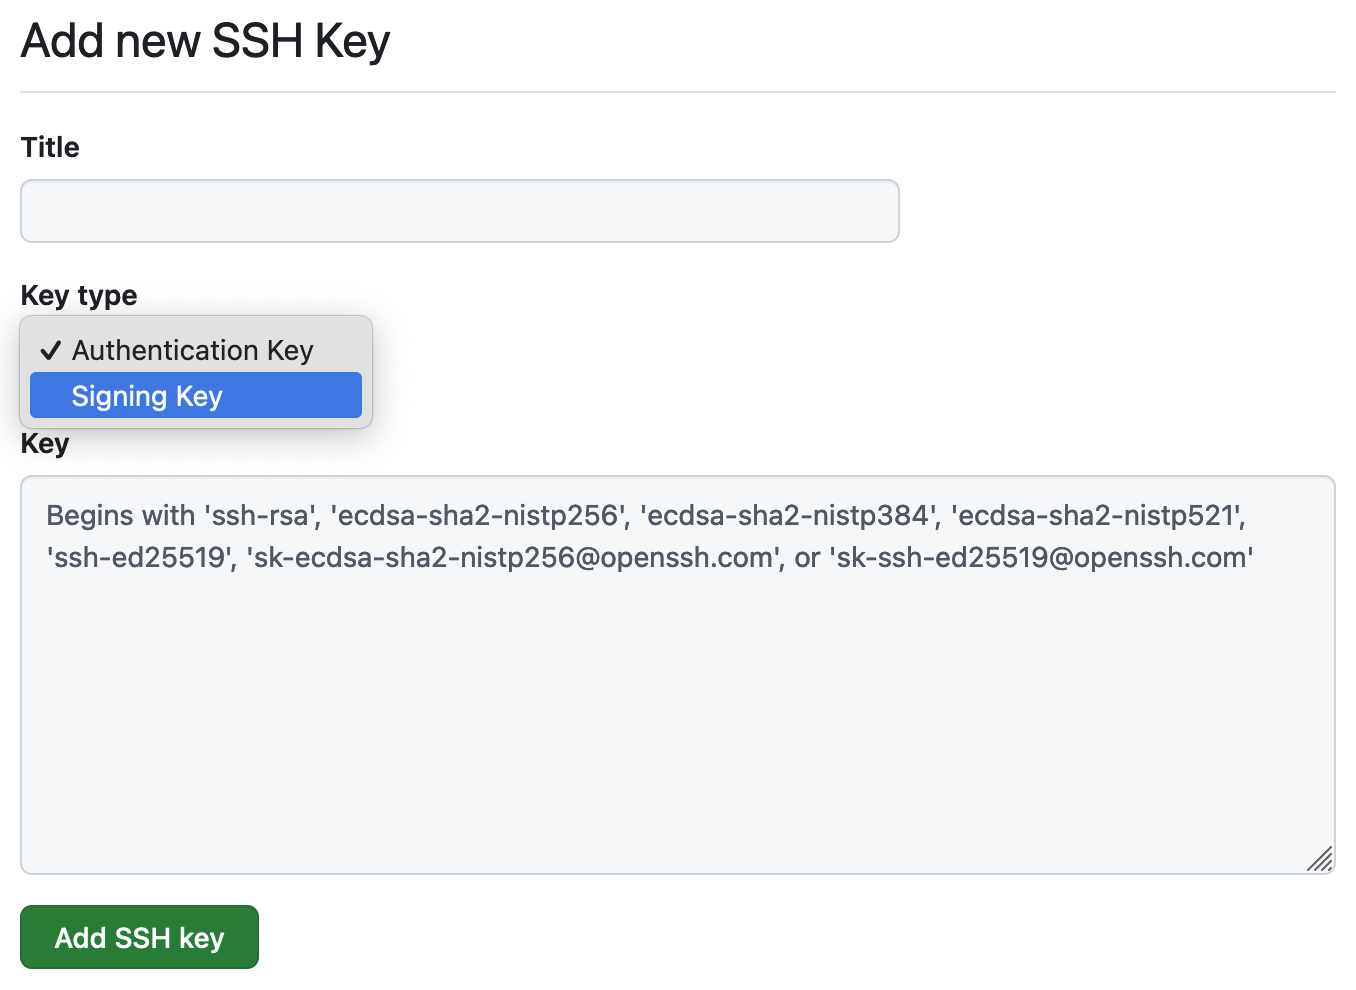
cat ~/.ssh/id_ed25519.pubthen add it as a new authentication SSH key to GitHub with the form at https://github.com/settings/ssh/new, with a meaningful title and the copied public key

Figure 1: A screenshot of adding a SSH authentication key to GitHub.
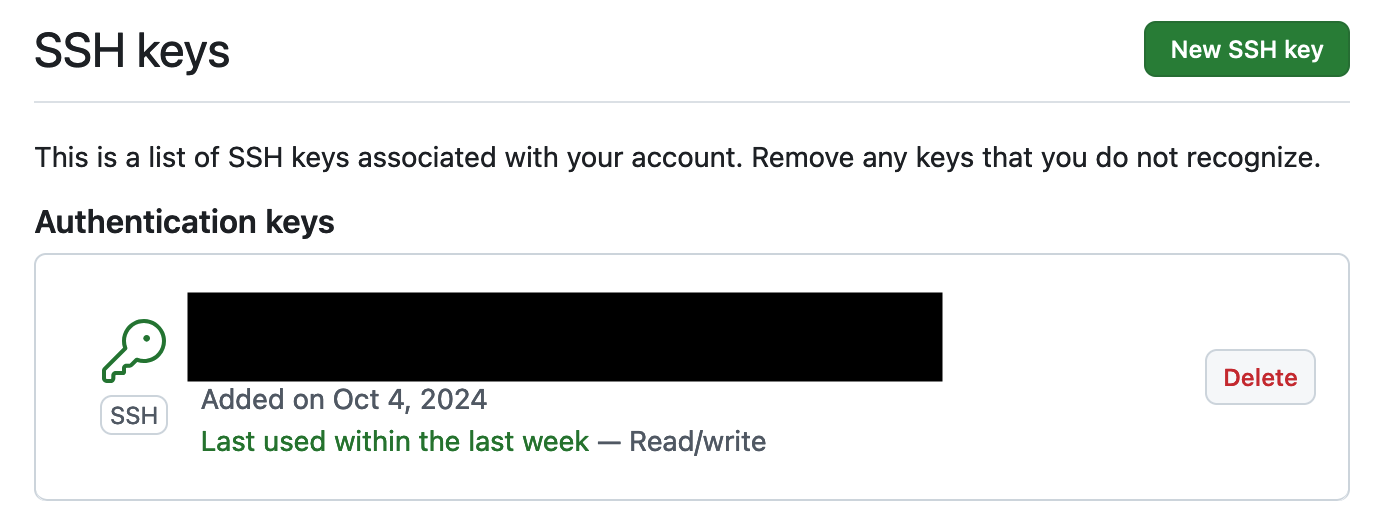
This will then show on the GitHub SSH keys page.

Figure 2: A screenshot of added keys on the GitHub SSH keys page.
Tips and gotchas
When using SSH keys, there are a couple of things which can make your life easier/harder. Some of them I have encountered are enumerated below.
Avoiding password prompts on MacOS
On MacOS, the SSH key password can be added to the user keychain, significantly reducing the friction when interacting with the remote. This step is listed in the GitHub docs for MacOS, first updating the SSH config file as follows 6.
Then, using the following command when adding the SSH key:
ssh-add --apple-use-keychain ~/.ssh/id_ed25519
On system reboot, you may need to ensure the agent and keychain are active. One way to do this is as follows:
ssh -T git@github.com
Correctly configuring remotes
An easy point of confusion when using SSH keys is that different remotes are required than when authenticating over HTTPS. For HTTPS, remotes tend to look like:
https://github.com/<USERNAME>/<REPOSITORY>
But when using SSH keys, remotes must be of the following format:
git@github.com:<USERNAME>/<REPOSITORY>
As such, you may need to modify some repository remotes if switching from HTTPS
to SSH authentication. This can be done as follows, for the example of the origin remote:
git remote remove origin
git remote add origin git@github.com:<USERNAME>/<REPOSITORY>
Automatically using SSH remote URLs
To address the above issue, you
can configure git to rewrite HTTPS to SSH remote sources as follows 7.
git config --global url.ssh://git@github.com/.insteadOf https://github.com/
However, this presents the possibility of difficult-to-debug errors with remotes, so care should be taken if it is set.
Using an SSH key to sign commits
In addition to authenticating with, you can sign commits with your SSH key, with instructions for doing this available here.
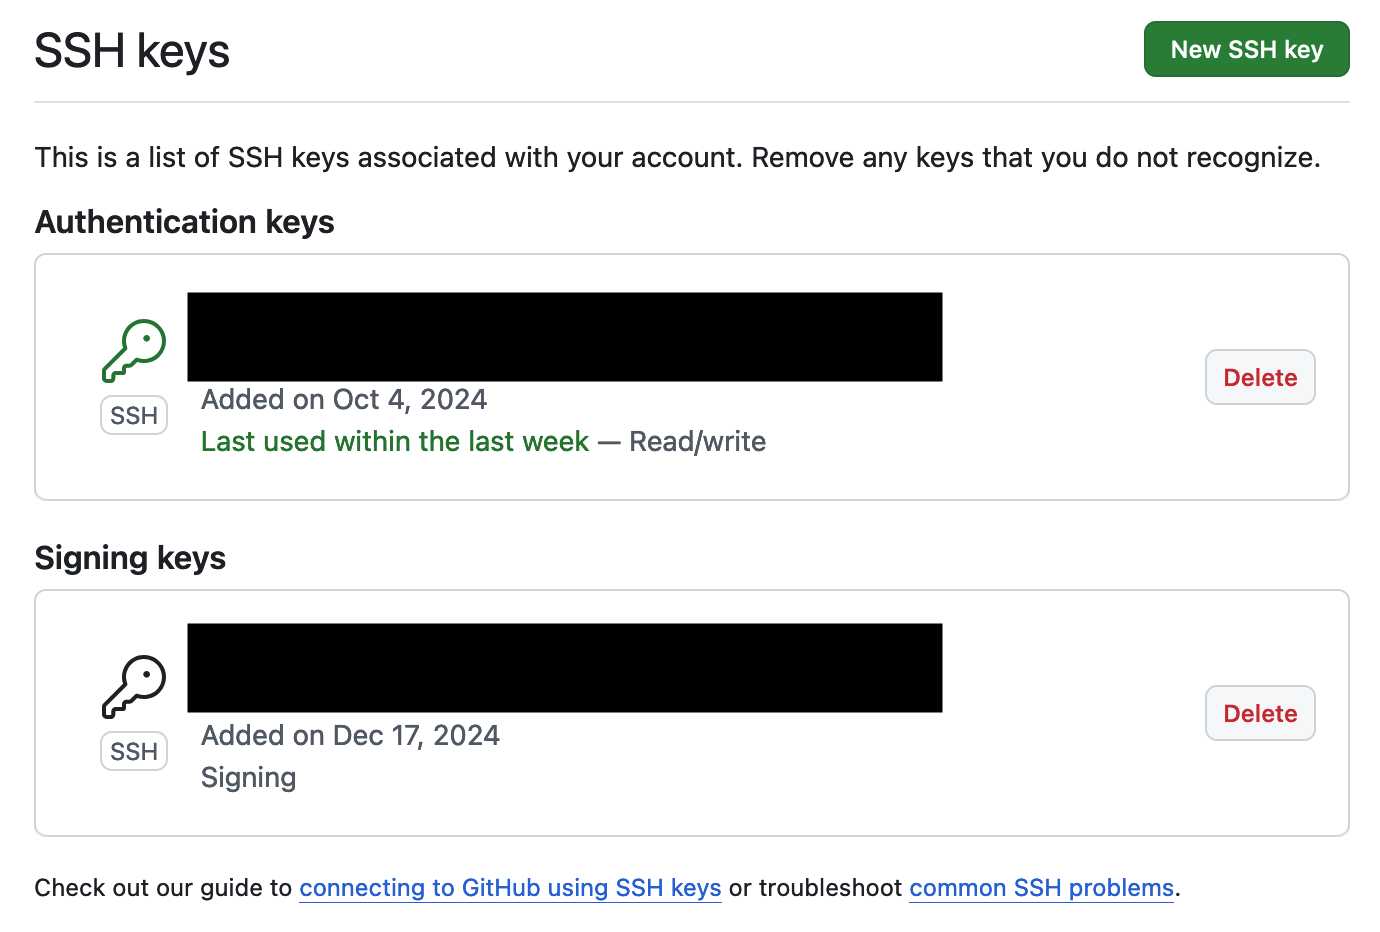
First, you then need to add your SSH key as a “Signing key” (separate from an “Authentication key”, but on the same page) to GitHub with the form at https://github.com/settings/ssh/new. This is the same process as adding an authentication key, but the key type must be set as a signing key, as shown below. This will then show on the GitHub SSH keys page.

Figure 3: A screenshot of added keys on the GitHub SSH keys page.
Then, you can configure git to use the SSH key for signing all commits and tags.
git config --global gpg.format ssh
git config --global user.signingkey ~/.ssh/id_ed25519
git config --global commit.gpgsign true
git config --global tag.gpgSign true
Finally, this will then mark new signed commits as verified on GitHub, as shown below:

Figure 4: A screenshot of verified commits shown in a GitHub history.
References
https://github.blog/changelog/2021-08-12-git-password-authentication-is-shutting-down/ ↩︎
https://github.blog/security/application-security/token-authentication-requirements-for-git-operations/#background ↩︎
https://docs.github.com/en/authentication/connecting-to-github-with-ssh/generating-a-new-ssh-key-and-adding-it-to-the-ssh-agent#adding-your-ssh-key-to-the-ssh-agent ↩︎